

Note: the option to create adjusted courses is available to non-admins in Enriching Students. The only difference is a non-admin cannot create adjusted courses for other staffers, only for themselves.
As an admin, you are able to adjust, or create specialized courses, for any user. One specifically helpful feature is that this allows you to set the max number of students for a teacher for a course, even on a day to day basis. Teachers may set their student count to be higher, but not lower than this set amount.
If you are an admin, click Admin and in the Manage Staff & Students box, click 'Adjust Courses.'
If you are not an admin, click the Course menu link.
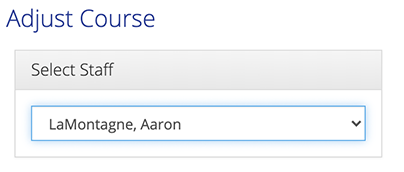
To begin, select the staff member for whom you would like to adjust a course. The staff member’s teaching course will display in the “Staffer’s Course” box. (This option is only visible if you are using the Admin option to create an adjusted course.)
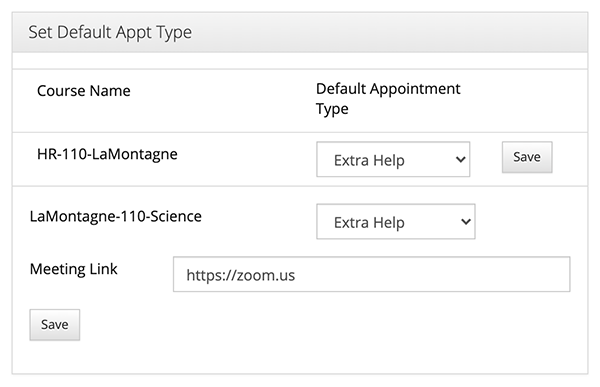
Once you've selected a staffer, you will see a box with their default appointment type and meeting link, and then a box with their default subject matter course.
Setting a Staffer's Default Appointment Types and Meeting Link
The Set Default Appointment Type box allows you to change the default appointment type for each of the selected user's courses. A user's homeroom and subject matter course will each have a default appointment type, or in other words, the appointment type that is automatically selected when they quick schedule a student. In addition, you can give them a default meeting link if their courses will be virtual. This must be either a Zoom or Google Meet link. Be sure to select 'Save' for changing default appointment types and setting a meeting link.
Adjusting a Staffer's Course
To adjust the staffer's course, you will be using the Staffer's Course box. Here you can edit the current course name by typing in the label with the course name, and making your changes, or create an entirely new course. You may also adjust the number of students to be higher or lower, select the default appointment type, and change the course room number if you wish. Optionally, add a description of the course you are creating. If this is going to be a virtual course offering, you also have the option to add a Zoom or Google Meet link in the space right underneath the description.
Finally, take note of the "Appt type must be used" option. When this is deselected, a staffer can create an appointment for this adjusted course and they will have the option of setting the appointment type.
When the option is selected, the appointment type will be automatically set when an appointment is created and the appointment type cannot be modified.
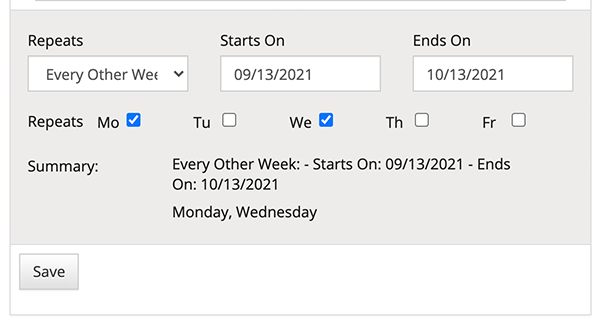
Next, select a date for this course. To select just one date, leave the 'Repeats' drop-down set to (none), and click in the Date label to select a date from the calendar.
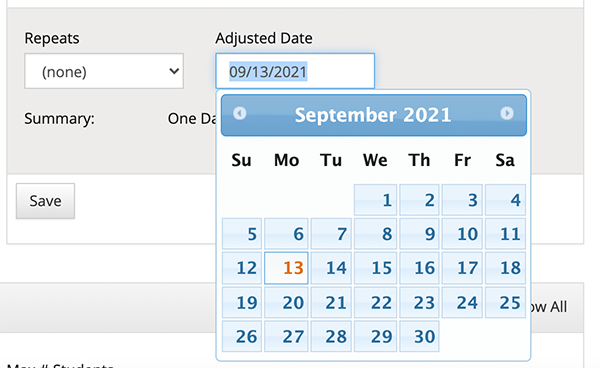
If this is to be a recurring course, select a repeating option in the 'Repeats' drop-down, and set a start and end date. Check the boxes on the days of the week you want the course to occur on. The summary at the bottom will give you an overview of the dates you have selected. Once your course is created, click “Save.”
*Please note: If you are creating an adjusted course offering for a teacher at a time when students are already scheduled to that teacher, the students will be automatically scheduled into this adjusted course.
The adjusted course will show in the 'Adjusted Courses' box at the bottom of the page. From here you can further edit or delete the adjusted courses, as well as view how may appointments have been made with this course.
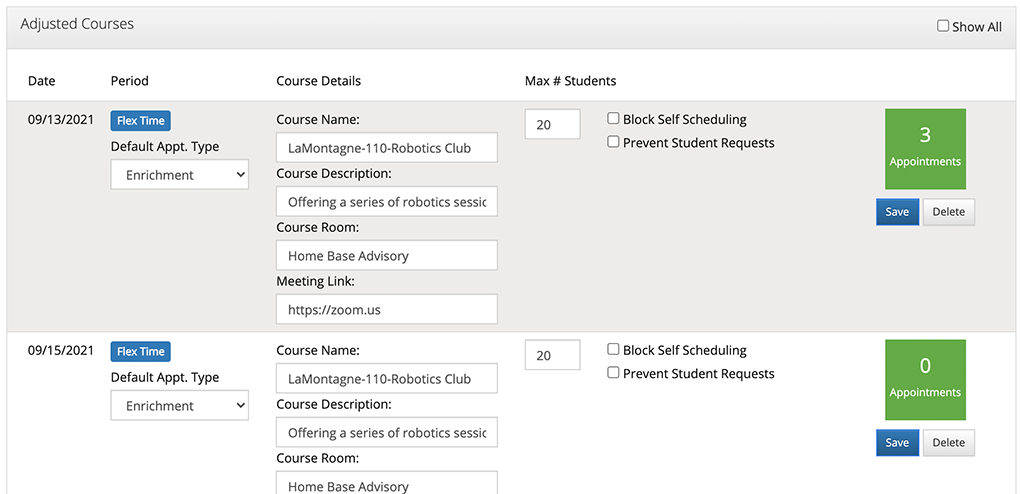
Each date that you have set up this course for will show in the 'Adjusted Courses' box separately. It will show the date it is for, the period it occurs in, the default appointment type, the details of the course, the max # of students it's set for, the course room #, the number of appointments that have been made in the course, and lastly, if you have blocked students from self scheduling. Clicking 'Show All' in the top left of the box will show past as well as present courses. If you edit any of these options, be sure to click 'Save'.
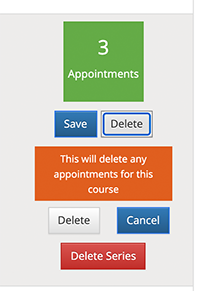
There are a few options for deleting these courses as well. If you have created a course for a single day, simply click 'Delete', and confirm that you want to delete that course.
If you have created a series of courses, you will have the option to either delete the course on that day, by clicking 'Delete, or delete the whole series of courses you made by clicking 'Delete Series. *Please note, when deleting a course, especially a series, be aware that this will delete all appointments made with this course. This includes appointments made in the past. For example, if you have created an adjusted course that occurs every day for a week, you schedule students to it an take attendance Monday-Wednesday, and decide to delete the series on Thursday, the appointments you had made, and the record of attendance for Monday-Wednesday will be permanently deleted. So please use caution when deleting adjusted courses.
Keywords: admin adjust course, adjust course for another teacher, set another teacher's default appointment type, set default meeting link for another staffer, adjust staffer's course
Comments
0 comments
Please sign in to leave a comment.