
To get to the Students page, select Students in the navigation. Read the full article to learn how all of this page works, or click below to jump to a section and learn how to:
- Search for Specific Students
- View a List of Students
- Change a Student's Email Address
- Add a New Student
- Editing a Student
- Deleting a Student
- Bulk Edit Students
SECTION 1
Search for Specific Students
There are a few options for finding a specific student, or searching for a group.
Search
If there is a specific student you are looking for, you can type at least 1 letter in their name in Search by Name (see underlined in the image below) and either select the search icon or Enter on your keyboard. The more letter's in student's name that you enter, the more specific your results will be.
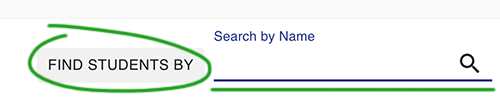
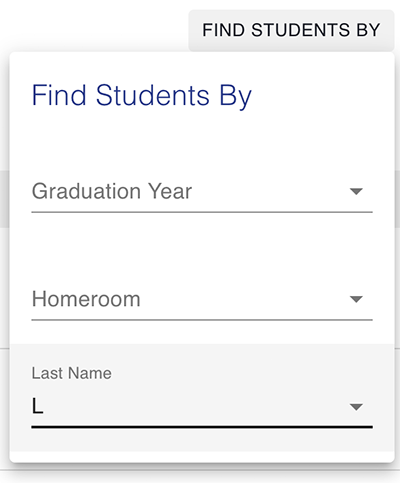
You can also search using the Find Students By button (see circled in the image above). This gives you 3 options.
1. Search by Graduation Year to find all students in that year.

2. Search by Homeroom to find all students assigned to a specific homeroom staffer.
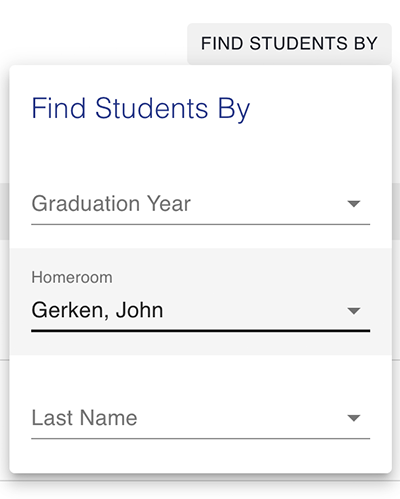
3. Search by Last Name and select the first letter in students' last names to get a list of students.
Filter
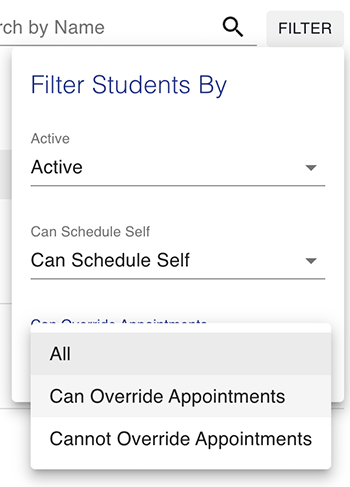
Once you have used either Search by Name or Find Students By, a Filter button will appear. This allows you to filter the student list further if you would like. You have 3 options to filter by:
1. Active status. You can choose to search for All students (the default setting), or search for only Active or Inactive students.
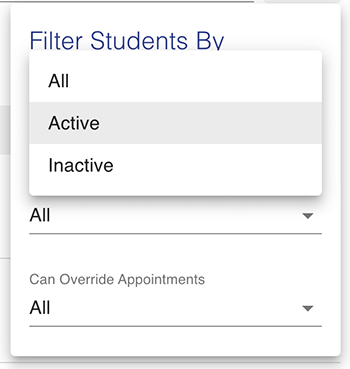
2. Can Schedule Self. This will allow you to search for students who either have the ability to self schedule (Can Schedule Self) or those who do not (Cannot Schedule Self).

3. Can Override Appointments. Use this if you want to search for students who have been given the permission to override appointments. Choose Can Override Appointments to find students who can, or Cannot Override Appointments to find students who do not have that permission.
You can filter by 1, or all 3 of these filters to narrow down your results.
SECTION 2
View a List of Students
When you find the student, or students, you are searching for, you will see them listed in the Students box. See an example of one student listed, in the image below. The student will be listed by Name (last name, first name), and each student's name is a link that will take you to their Student Profile page. Next in this box you will see the student's Email Address, Graduation Year, and Homeroom Teacher.
There is a legend at the top of the list that shows 2 different student icons. This is to show that if a student has an outlined, instead of black icon, they are soft deleted. Learn more about what soft-deleted means here.
You will also see 'badges' for each student, based on what their status and permissions are. In the example in the image above, the has badges showing that they are active, can self schedule, but cannot override appointments.
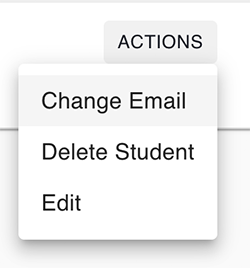
Lastly there is an Actions button that will allow you to change the student's email address, edit, or delete them.
SECTION 3
Change a Student's Email Address
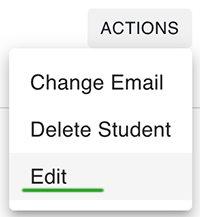
Next to each student's name there is an Actions button. When you select this button next to a student's name, it will allow you to change their email address. Select Change Email.
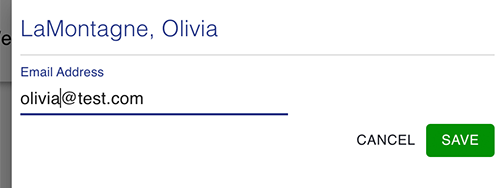
A box will slide out that allows you to change their email address. Be sure to select Save after making changes, or Cancel if you don't want to make any changes.
SECTION 4
Add a New Student
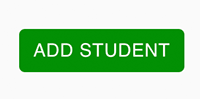
To manually add a student to your school's Enriching Students account, select the green Add Student button. Note: If your school uses Clever, you will not see this option.
This will take you to a page where you can add the new student's information. On this page there are 3 sections: General Info, Security Credentials, and Emergency Contacts. You will not be able to edit the Security Credentials or Emergency Contacts tabs until you have added the General Info.
General Info
All fields but the Nickname and Guidance counselor are required.
Add the students First Name and Last Name, and Email Address.
A Nickname is not required, but you can enter one and then that name will take the place of the student's first name within Enriching Students. This can be helpful if you have a lot of students with the same name.
Next add the SIS Id. This should match the student's Id in your Student Information System. Next choose the student's Graduation Year, and assign them a Homebase Staffer. The last field is optional, you can add the name of the student's Guidance Counselor.
Next you can choose whether or not you want to Allow Self-Scheduling. If you leave this unchecked, the student will have permission to request appointments. When checked, this will allow them to schedule themselves for appointments. If you check this box, an option will appear that will allow you to set permission for this student to Overwrite Appointments. This means that a student would be able to schedule themself even when they are already scheduled.
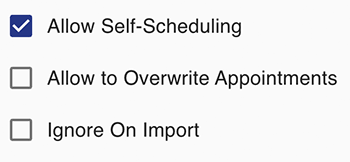
The last option is Ignore On Import. If you are using a third party rostering tool like Clever or OneRoster, and are adding a student manually, this box will be checked automatically.
It will prevent this student's record from being modified by the data Enriching Students is receiving. If unchecked, the next time you import data this student will be soft-deleted, because the manually-added student isn't in your SIS.
Once you have added all the General Info for the student, click Save. Now you can move on to the Security Credentials tab.
Security Credentials
This section simply allow you to give the student a password. Once you have entered their password, a box will pop up that, when checked, will send this new student a welcome email with their login information.
You don't need to give a student a password in order to have them saved within Enriching Students, but they will need a password if you want them to be able to log in to their account.
Emergency Contacts
The last tab is Emergency Contacts. This information is optional, but allows you to enter parent or guardian contact information. Also, if parents or guardians would like to receive a copy of the schedule emails their student receives, check the box that says 'Receives a Copy of Student Emails?' (See circled in the image below.)
When you have added the contact information, click 'Save'.
Once you have saved the contact, they will appear in the Emergency Contacts box. If they are set to receive a copy of the student's emails there will be a green check mark under Receives Emails (see image above), and if they are not set to receive the emails, there will be a red 'X'.
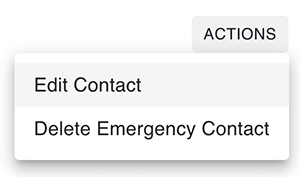
To edit the emergency contact select Actions > Edit, and you can make the needed changes and save again. Select Actions > Delete to remove the contact.
When you are finished you can select another page, or click the Back to Students link at the top of the page to get back to the Students page. You will now be able to search for and find your newly added student.
A note about adding a new student and prebooking them to homeroom appointments:
When adding a new student, it's possible to have Enriching Students create homebase appointments for that student automatically.
- As an admin, you'll have to first ensure that your account is set to have one or more days set to prebook.
- Once the days of the week have been set, simply add a new student. As part of creating their record, you will set their homebase teacher.
- When you save the record, the new student will automatically be booked into that teachers advisory for the entire year for the days you selected prebooking.
- The number of seats is NOT automatically adjusted. This might make it appear that the teacher is overbooked if there are now more appointments than the max number of students for those days.
SECTION 5
Editing a Student
You can edit a student by selecting Actions next to their name, and choosing Edit Student.
This will take you to a page that is the same as the Add Student page, except the student's information is already added. Make any needed changes to their general info, security credentials, or contact information.
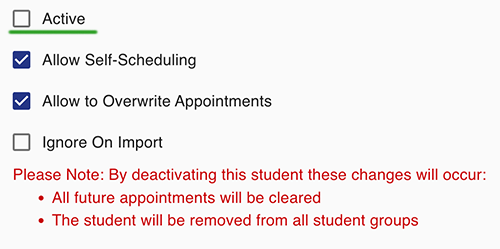
There are some things to keep in mind when making edits. If you choose to deactivate a student, this will remove their assigned homebase staffer, all future appointments will be cleared, and the student will be removed from all student groups. (See image below.) In addition, if you choose to change a student's password, it might be a good idea to send them another welcome email so that they will have that information.
When you are done making any changes, make sure they are Saved. You can select another page, or go back to the Students page by selecting the Back to Students link at the top of the page.
Note: When editing an existing student, Enriching Students will move any existing homebase appointments from the original homebase teacher, to the new homebase teacher automatically.
- Edit the student and set the homeroom teacher to a new value.
- When you save the record, any homeroom appointment that does not have attendance taken for it will be moved to the new staffer. The course and the instructor will be updated to the new homebase and homebase staffer.
- The number of seats is NOT automatically adjusted. This might make it appear that the teacher is overbooked if there are now more appointments than the max number of students for those days.
SECTION 6
Deleting a Student
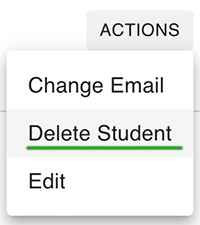
Deleting a student is straightforward. Find the student you want to delete and then select Actions then Delete Student next to their name.
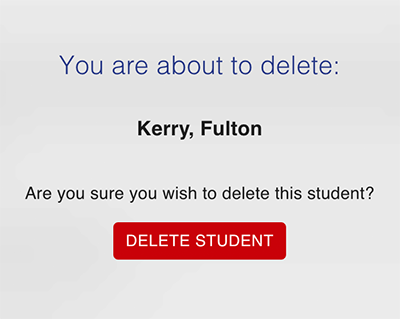
When you do this, you will be prompted to confirm that you want to delete the student. When you delete a student it will remove all of their past and current data, so be sure this is something you want to do.
Note: This is especially important when you plan to add or transfer a student to another school. Since all user Ids must be unique, a student's email (which is their user id) cannot be used twice, even if in another school. The student would need to be removed (deleted) from one school and then added to another.
If you know you want to delete them, choose the Delete Student button. If you don't want to delete them, select the 'X' in the top right corner.
SECTION 7
Bulk Edit Students
Bulk Edit allows you to make changes to a group of student at once. First, find the group of students you would like to work with.
Once you have your student or group of students, select the Bulk Edit button. You can reassign students to a Homebase Staffer, or you can change their self scheduling permissions.
If you set Can Schedule Self to 'Yes', you will then see another option to set Can Overwrite Appointments.
You need to select at least 1 bulk edit option, and at least 1 student in order to save changes.
To choose specific students, select the check box next to their name. (See example circled in the image below.)
To choose all students you are currently viewing, check the box next to Name at the top of the student list. (See circled in the image below.)
If a student has been marked inactive or is soft-deleted, you will not be able to edit them.
Once you have made your selections click Save, and all selected students will be edited.
Keywords: manage students, add new student, delete students, edit students, activate student, make student inactive, remove self scheduling for a student, send student welcome email, allow student to override appointments, change student's homeroom staffer, how to edit a group of students
Comments
0 comments
Please sign in to leave a comment.