
Click a link below to jump to a section in this article:
- Create Data Definitions for Export
- View Data Definitions
- Export Data
- Edit and Delete Data Definitions
- Schedule a Daily Export
- Data Fields and Their Descriptions
SECTION 1
Create Data Definitions for Export
To get a better understanding of your flex program, it can be helpful to have reporting data. Go to Admin, and Export Data to create data definitions that you want to export to CSV files.
On the Export Data page, select the Create Data Definition button.
![]()
On the Create Data Definition page, you are essentially setting up what you want to include in your report.
Export Details
First you'll need to add some details. You can choose Schedule Daily export to set this up as a recurring export, which we talk about in Section 5. Then, click in the Start Date and End Date fields to select the date range you want data from.
Definition Details
Create a title for your Data Definition that will be descriptive enough for you to easily find it. Add a comment to describe what this definition is for. This will be visible only on the Export Data page, which can be helpful to you or other admins.
Data Filters
If you want to filter the data, you can do so by Appointment Types, Attendance Types, or Graduation Years. Choose one or more types or years from the dropdown. To deselect one of them, click on the type or year again.
Add Data Fields
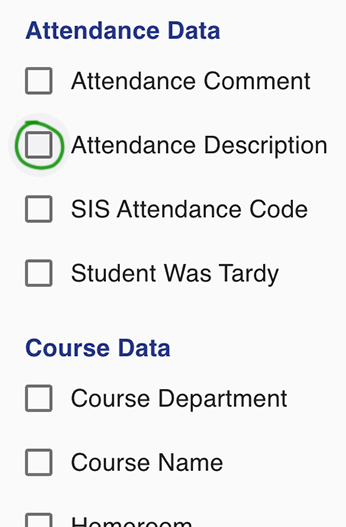
Now it's time to choose the data you want in your export. You will see a number options under the Data Fields heading. When selected, each option will become a header in your export that will pull specific data. Check the box next to any fields you want to include (see circled in the image below).
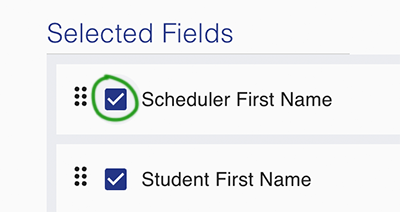
Once you've added your fields, you will see them listed under Selected Fields. To remove one of the fields, uncheck the box next to their name.
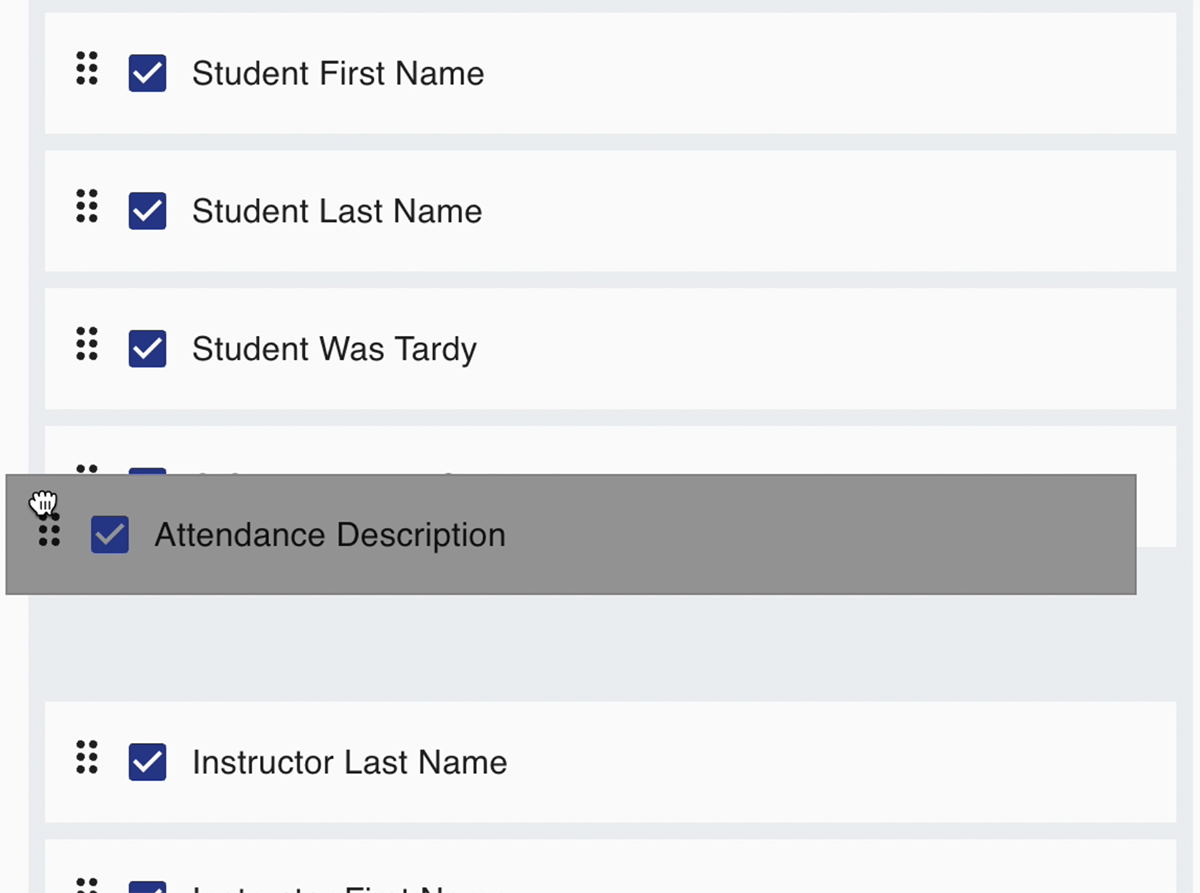
You can order how you want the headers in your file to be displayed by dragging and dropping each field into the order you want (see example in the image below).
Once you have selected all of the fields you need to, select the Save & Close button.
SECTION 2
View Data Definitions
Once you have saved a data definition, you will see it on the Export Data page. Each Data Definition is listed with the Title, Description, Date Range, and if you scheduled a daily export, the Last Automatic Update Run Date.

Each Data Definition will also have an Actions button.
SECTION 3
Export Data
There are 2 ways you can export data. But first, make sure you have created a data definition (see Section 1). To export data, go to the Export Data page and either:
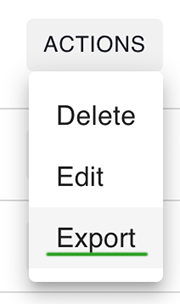
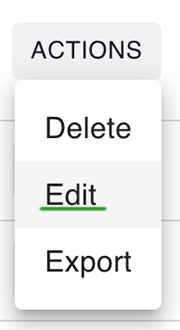
- Find the Data Definition you want to export. Select Actions and then Export.
- Or, find the Data definition you want to export, and select Actions, then Edit.
On the Edit page, you can make any needed adjustments and then select the Save & Export button.
When you export data, it will export as a .CSV file. See a file example in the image below.
SECTION 4
Edit and Delete Data Definitions
Easily edit a data definition by going to the Export Data page. Find the definition you want to edit and select Actions, Edit.
On the Edit Data Definition page you can make updates to the Start Date & End Date, Title, Comment, Data Filters, or any of the fields. You could also choose to check the Schedule Daily Export box and set up a daily export (see the next section).
Once you've made changes, select Save to save your changes and go back to the Export Data page. Or, you can select Save & Export to save these changes and export the newly edited file.
To delete a data definition, select the Actions button and choose Delete.
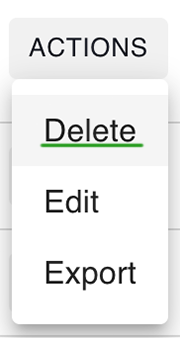
After you select Delete, you will have to confirm by selecting the Delete Data Definition button. If you don't want to delete it, select the 'X' at the top right corner of the screen.

SECTION 5
Schedule a Daily Export
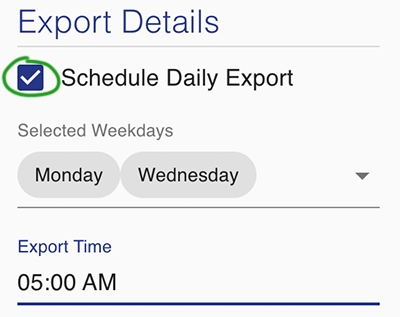
When you create or edit a data definition, under Export Details you will see an option to check a box to Schedule Daily Export. This will allow you to set up a file that will be exported to your school's SFTP folder at a specified time on certain days. You can then take the file from the SFTP folder and process it.
To do this, first check the Schedule Daily Export box (see circled in the image below). Then, in the Selected Weekdays dropdown choose the weekday or weekdays you want the file to be exported. Click on a weekday name to select it; click on it again to remove it. Next, click in the Export Time label to set up the time when you want the export to be sent. In the example below, this user should be sent this file every Monday and Wednesday at 5:00 am.
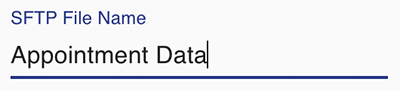
Next, add the SFTP file name. Because you will be retrieving this file from your school's SFTP folder, you will want to make sure that the file name is something you can easily recognize.
Setting up the rest of the data definition is the same as creating any other data definition (see Section 1 to learn how). Add any filters you want, and select the fields that need to be included in the report. Click Save & Close to save this report and return to the Export Data page. Your daily export will run at the times you have set.
SECTION 6
Data Fields and Their Descriptions
If you are looking for certain pieces of data to include in your export, but are unsure of what some of the data fields are referring to, find a list of each field with a brief description below.
Appointment Data
Appointment Type: The appointment type set for the appointment. Will display the appointment type name (ex. Enrichment).
Is Locked: If the appointment was locked by the schedule. This will display as True or False.
Period Id: The internal period ID within Enriching Students.
Schedule Date: The date the appointment was scheduled (ex.
Scheduled by Staffer: This will display as a True or False value. If true, this means that the student was scheduled by a staffer. If false, this means that the student scheduled themself.
Scheduler Comment: This will display the text of the comment the scheduler made when creating the appointment. If there is no comment, the field will be blank.
Scheduler First Name: The first name of the staffer who scheduled the student.
Scheduler Last Name: The last name of the staffer who scheduled the student.
SIS Period Id: The period ID that matches the ID for the period in your Student Information System.
Attendance Data
Attendance Comment: If the staffer taking attendance for a student added a comment, this will display that comment.
Attendance Description: This will show the attendance type (Ex. Absent).
SIS Attendance Code: This will display the SIS export value that will be recognized by you school's Student Information System.
Student Was Tardy: This will display as a True or False value, based on whether or not a student was marked as tardy.
Course Data
Course Department: The department name of the course a student was scheduled into.
Course Name: The name of the course a student was scheduled into.
Homebase: The default room number of the teacher
Instructor External Id: This is the ID of a staffer that matches their ID in your school's Student Information System.
Instructor First Name: The first name of the staffer a student was scheduled into for an appointment.
Instructor Homebase: The homebase of the staffer a student was scheduled into.
Instructor Last Name: The last name of the staffer a student was scheduled into for an appointment.
Student Data
Guidance Counselor: The name of a student's guidance counselor, if they have one assigned. If the student does not have an assigned guidance counselor, this field will be blank.
Student External Id: This is the ID of a student that matches their ID in your school's Student Information System.
Student First Name: The scheduled student's first name.
Student Id: The is the ID of a student that is used internally in Enriching Students.
Student Last Name: The scheduled student's last name.
Student Year of Graduation: The year the scheduled student graduates.
Keywords: create reports for export, exporting attendance, automated export, export appointments, export courses, export student data
Comments
0 comments
Please sign in to leave a comment.