

With Enriching Students, you can choose to import student grades automatically, or you can manually upload a CSV file containing the grade information.
To do this, log in to Enriching Students as an admin. Go to the Settings page, and in the Manage Staff and Students box, select 'Import Grades.'
This page gives you instructions for creating and uploading your grade file. At the top of the page, it tells you when you last uploaded grades. There are the details about what you need to include in the file in the 'File Setup Points' box, and there is an option to clear existing student grades in the 'Clear Student Grades' box. And 'Upload Your Files' is where you select and upload the file you create.
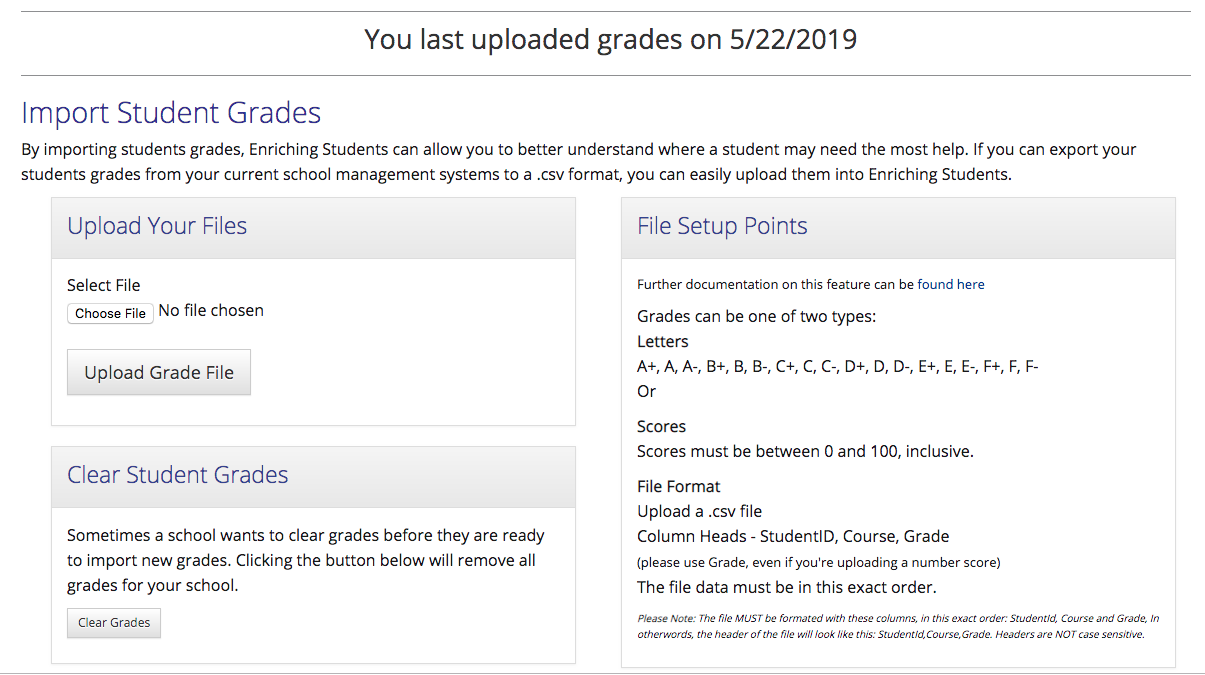
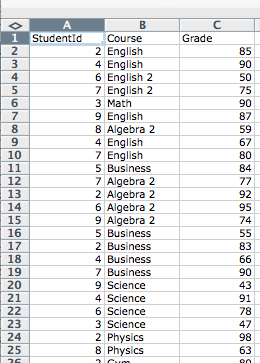
To create the file, you will need to have the following as column headers: StudentId, Course, and Grade. While the headers are not case sensitive, you do need to enter the headers in this exact order, and ensure there are no spaces between letters or words.
Under each header, fill in the proper data. Grades need to be either letter grades A+ to F-, or number-based scores from 0 to 100.
The file you create should look something like this:
Once you've set up the file, save it as a .csv format file. Go back to the Import Grades page in Enriching Students, and select 'Choose File' in the 'Upload Your Files' box. Select the .csv file you just created. Once it's been selected, choose 'Upload Grade File.'

If the process is successful, you will get a confirmation message.
If there is an error in the file, when you try to upload it, the process will fail and an error message will tell you where in the file there was an issue so you can fix it.

For a full list of import errors, see this document.
Keywords: import grades, csv grade import, setting up grade import file, how to create a csv file for grade import, manually import grades
Comments
0 comments
Article is closed for comments.