

As part of the scheduling process, teachers can select an appointment type when they schedule a student for an appointment. This may have a lot to do with the kind of appointments that are available in your school's flex periods. Where can you create and edit these appointment types?
Logged in as an admin, go to the Settings page. In the App Setting box, select 'Appointment Type.' This page will have a list of you school's current appointment types in the 'Appointment Types box.' In this box you can edit the current appointment types by clicking in the label with their names, and making the desired changes. Changes will be saved automatically. You need to make sure the 'Is Active' box is checked if you want these appointment types to be usable by teachers. To hide appointment types, uncheck this box.
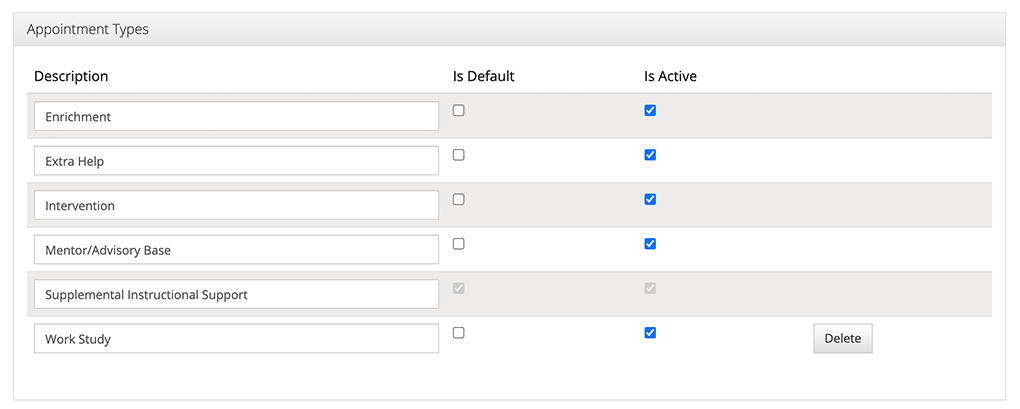
In addition there must be one, and only one, default appointment type. This is the appointment type that will be automatically selected when a teacher schedules a student on the schedule details page. The default appointment type must be active. To change the default appointment type, simply check 'Is Default' for a different appointment type.

To create a new appointment type, add a description, or name, and check whether it will be active and/or default. Save the new appointment type to add it to the list of appointment types.

You can make any appointment type inactive at any time, other than the default appointment type. However, you can only delete an appointment type if it doesn't have any appointments scheduled to it. For example, none of the appointment type in this list have a Delete button option, except the newly added appointment type, which hasn't had any appointments scheduled with it yet. As soon as a teacher schedules an appointment and selects this appointment type, this Delete button will no longer be visible.
Keywords: create appointment types, default appointment type, active appointment type, delete appointment type, manage appointment types
Comments
0 comments
Please sign in to leave a comment.