

At times, there is a need to move some or all of the students scheduled to a course, from one date to another.
Using the Create Roster feature on the Attendance page along with the Multi-Student scheduling pane on the schedule calendar, this can be done with a minimal amount of effort.
Here is how it would work, using a scenario in which you want to move appointments from 12/3 to 12/09 for Flex_period_1 and Flex_period_2 as an example:
You would...
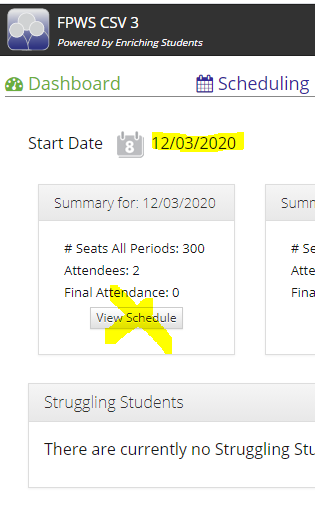
1. Go to the attendance page for the 12/03.
2. After clicking View Schedule and going to the section for Flex_period_1, you will create a roster with an appropriate name; in this instance you could use: Flex_period_1.
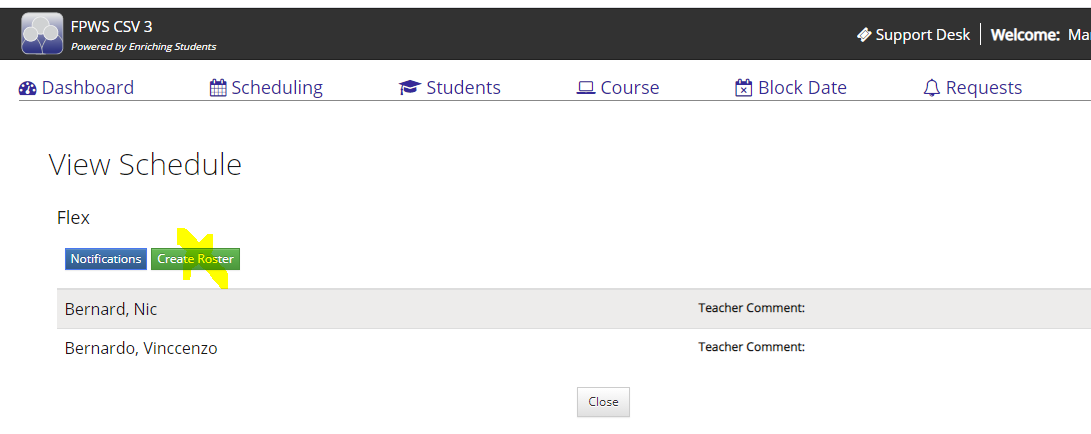
This new roster will now be listed along with all of the other rosters in the drop down on the Schedule page.

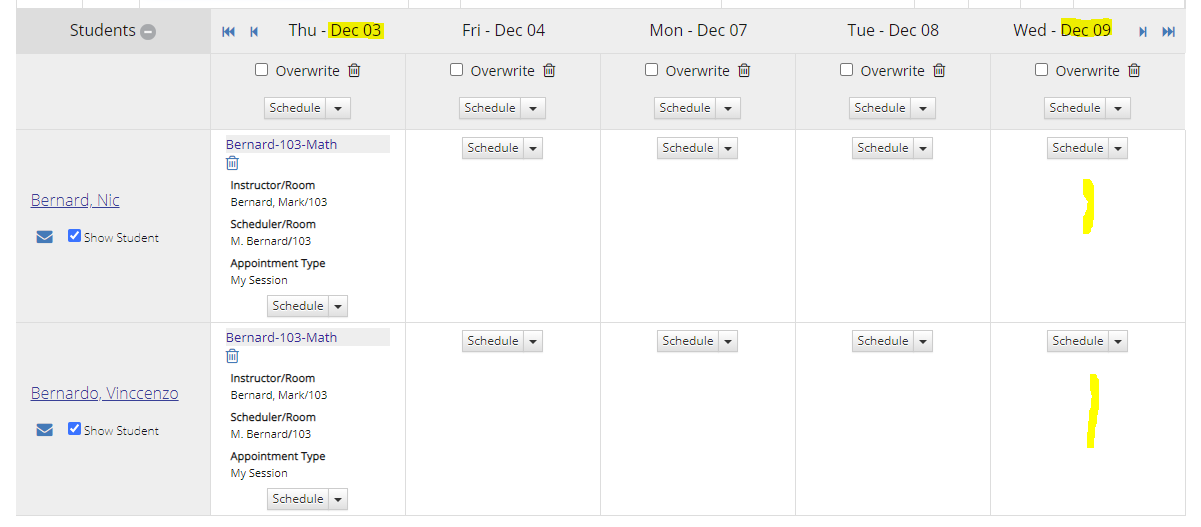
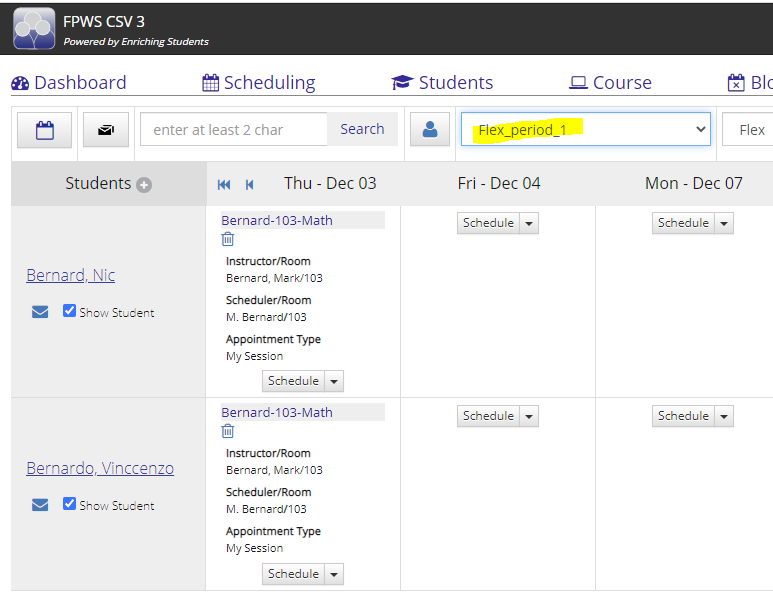
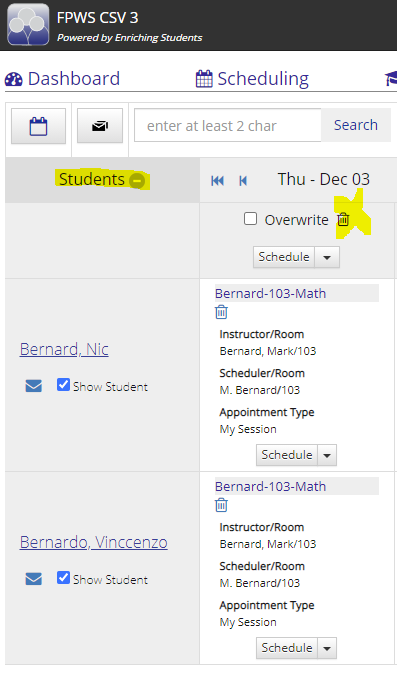
2. Now you can open the Schedule page, go to 12/03, select Flex_period_1 roster from the drop down and the currently scheduled students will be displayed.
4. You can expand the top of the schedule calendar to open the multi-student scheduling pane

5. For the original date (12/03) you can now select the trash can icon in the expanded section at the top and delete the appointments for the those students on that day.
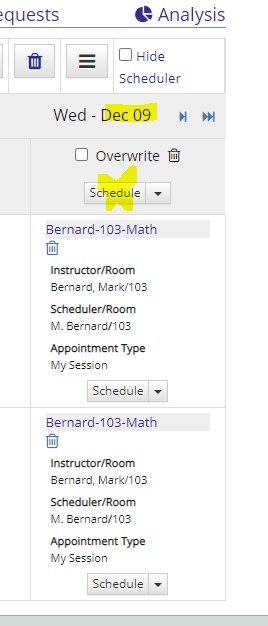
6. Since the roster is still up, and the multi-student section is still expanded, go to the target date (12/09) and select the Schedule button (at the very top of the schedule calendar) which will allow you to create an appointment for all of the students in the current roster.

Those students have effectively been moved for Flex_period_1 from 12/03 to 12/09
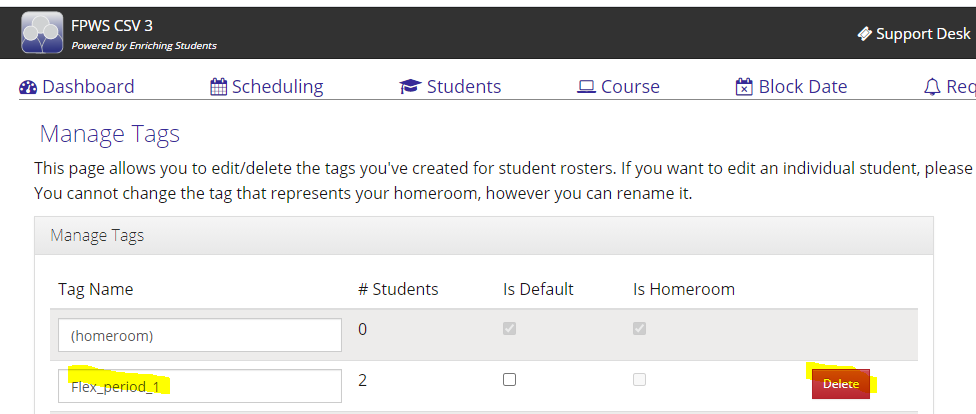
7. Once completed, the rosters can be deleted by going back to Students, but this time selecting Manage My Roster Tags

8. Click the delete button for the rosters that were created for the "move".
Comments
0 comments
Please sign in to leave a comment.