

The main function of Enriching Students is to ease the scheduling process to allow for a flexible, advisory, intervention, or enrichment period. You can schedule a single student or a group of students for one day or a range of recurring days. You can schedule a student for a variety of appointment types or courses. As you can see, there are many scheduling possibilities, so let’s start with a basic overview of the main features.
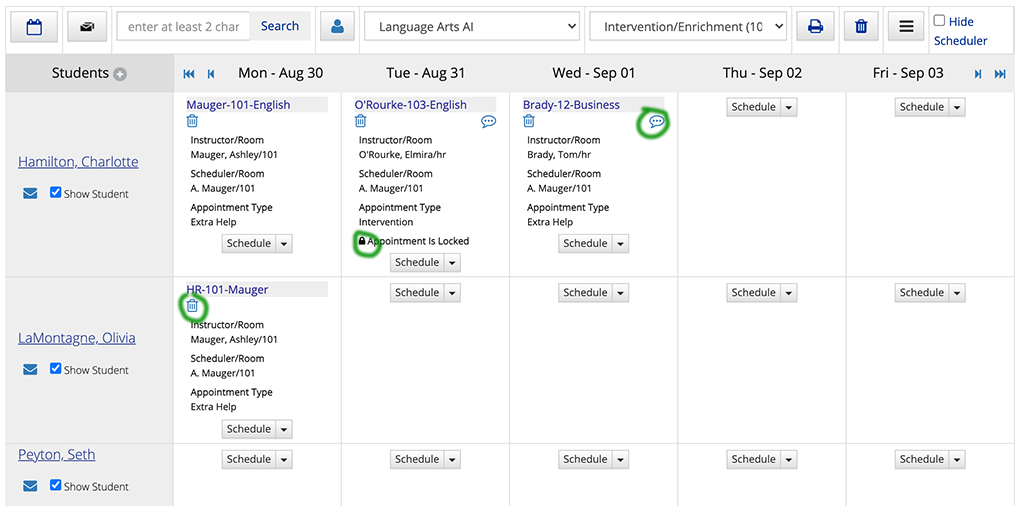
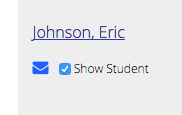
To get to the Scheduling page, login to your Enriching Students account and select 'Scheduling' in the navigation. The scheduling page displays the schedule of selected students for a 5 day period. You are able to sort students by tag, change the start date of the schedule to view, and email students from this page. You can uncheck the 'Show Student' box from a student's name to exclude them from view, or remove them from a list when scheduling a group.
When a day of the week is open for scheduling, you will just see the 'Scheduling' button with the dropdown arrow next to it. When a student is scheduled, you will see the course name and other scheduling information.
There are 3 icons you may see at when a student is scheduled. The small trashcan icon under the course name will allow you to delete an appointment, the speech bubble when clicked will show you a comment that was made by the scheduler, and the lock icon means that this appointment cannot be rescheduled, unless it it deleted first. All of these 3 icons are circled in the image below.
Select a Student
Filter students by Tag (ex. English, Homeroom, Math) or period (ex. Flex 1, Advisory). Select a student or students within that tag, OR search for a specific student by entering at least 2 characters in their last name.

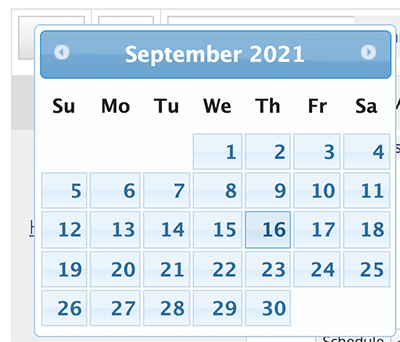
Select a Start Date
Use this calendar icon to select the date you’d like the
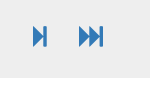
schedule view to start on. You can also use the arrows
at the top of the schedule to shift it forwards or backwards
by one day, or one week.
Email Schedule
To email an individual student, click the mail icon under their name. To email all students displayed on the scheduling page, click the mail icon at the top left of the screen, next to the calendar icon.

Get Another Teacher's Tags
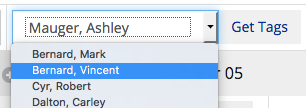
Another way you may want to search for or schedule students is to view the students another teacher has tagged. To view students another teacher has tagged, select the person icon to the right of the search bar. In the drop-down that will now appear to the left, select the desired teacher. Next, click 'get tags'. Now that teacher's tags will appear in the tags drop-down. You can now select one of this teacher's tags, and view their students.
Other Features
There are three buttons at the top right of the page. By clicking the printer icon, you will be able to print the displayed schedule. The trashcan icon redirects you to a page where you can delete multiple appointments. The next icon, with 3 horizontal lines, lets you collapse or expand the schedule view. The 'Hide Scheduler' check box gives you to ability to remove the name of the staffer who scheduled the student, and their room number, from the schedule view. This isn't permanent, just a feature that you can use to change the display, which may be helpful when viewing a long list of students.
![]()
Watch the video:
Keywords: scheduling page, scheduling overview, navigating the scheduling page, change schedule start date, email students, schedule another teacher's roster, print schedule
Comments
0 comments
Please sign in to leave a comment.