

What does “blocking dates” mean? A blocked date is a date, or period, that you have set to prevent any student from being scheduled to you. For example you or another teacher may be out for the day, a department might have a meeting during the school day, or be away for a training session. These dates, or periods, need to be 'blocked' so students won’t be assigned to teachers that will not be there. As a teacher, you may block dates for yourself, other staff members (if your school has set this permission), or a whole department.
So, how do you do it? Select Block Dates in the navigation to get to the Block Dates page. To set up a blocked date, you will be entering information in the Set Blocked Dates box. To start, to block dates for yourself or another individual staff member, select 'Block Staff.'
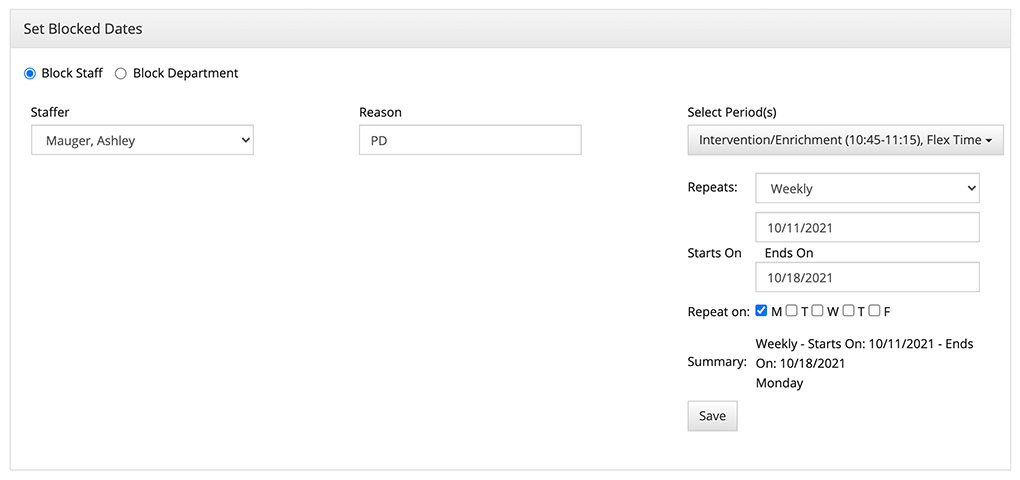
Then, choose the staff member in the dropdown list you want to block. This could be yourself, or if your school allows, another staff member. Next, type in a reason for the blocked date. The reason will display to other staffers, as well as students, on their scheduling page, and will prevent them from scheduling to you.
Next you can choose to select one or all periods in the 'Select Periods' dropdown, meaning you can block just one period, or an entire day.
You can then choose when you want this block to repeat on. If it's just for one day, select 'None' in the repeats dropdown. Your other options are to have this repeat every other day, every other week, or weekly. If you select any of these options, with the exception of 'none', you will need to select a start and end date. Then, within that selection, choose a day of the week for this to repeat on. The summary right before the 'Save' button gives you some feedback about what you've selected. If the summary is correct, click 'Save.'
In the example below, one staff member is selected, for two flex periods. They will be blocked from 10/11/21 to 10/18/21, every Monday.
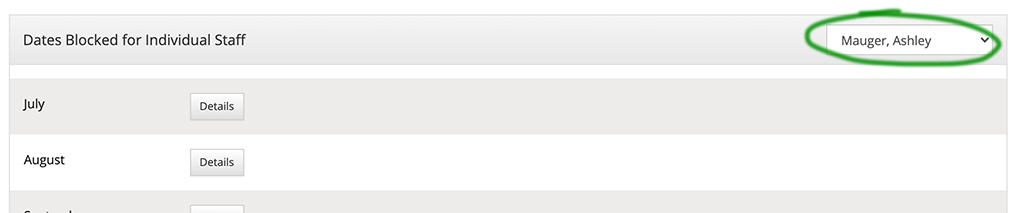
Now, you can view your blocked dates. If you have blocked a staff member, go to the Dates Blocked for Individual Staff, and select them in the dropdown.
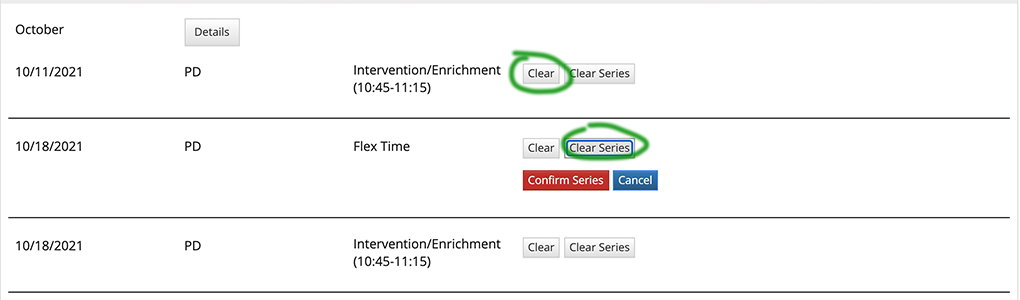
Now, go to the month they were blocked in, and select the 'Details' button. This will give you a break down of each day and period they are block. You have two options if you would like to delete these blocked dates. The first is to select 'Clear' for that specific period. This will clear the block for that specific period on that specific day. Or, if you setup a repeating range of blocked dates, as in this example, you can choose 'Clear Series.'
For example, in the image below, if you selected 'Clear' for the Intervention/Enrichment period on 10/11/21, just the block for that one day and period would be removed. Or, if you selected 'Clear Series', and then 'Confirm Series' all blocked dates would be removed. Whether you're choosing to clear one day or the whole series, you will be prompted to confirm, and have the option to 'Cancel' if you don't want to remove the blocks.
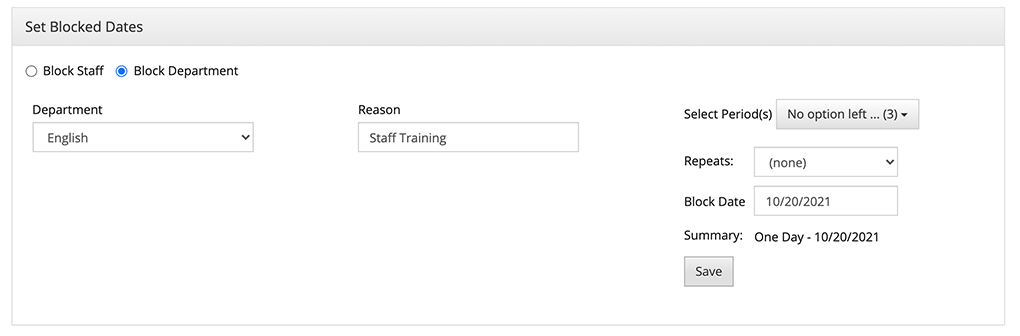
Blocking dates for a department is very similar. In the 'Set Blocked Dates' box, you would choose 'Block Department'. This will block all staff members in that department. Set up the reason, period(s) and date(s) the same as you would when blocking a single staff member.
Once you have saved your blocked dates, you can see them by scrolling down to the 'Dates Blocked for Department' box, and in the dropdown, choose the department you just blocked

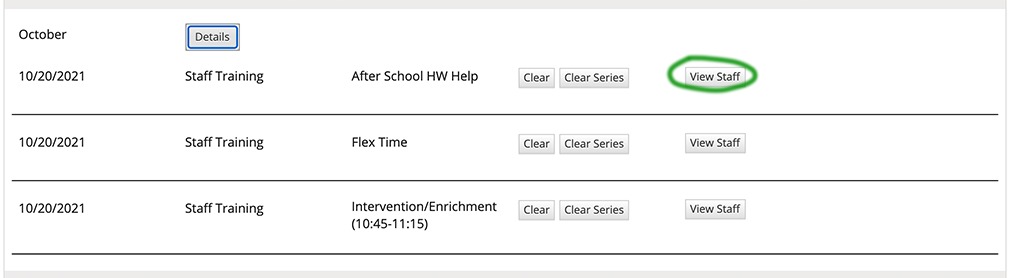
Now, in the month you created the block for, click the 'Details' button. There are some similarities, and one key difference here from the details you see when you've only blocked one staff member. Clearing blocks works the same -- you can clear an individual blocked date and period by selecting 'Clear' on that day, or clear the whole series by selecting 'Clear series.' What's different is that you can clear the block for a single staff member in the department. To do this, select the 'View Staff' button. You can see this button circled in the image below.
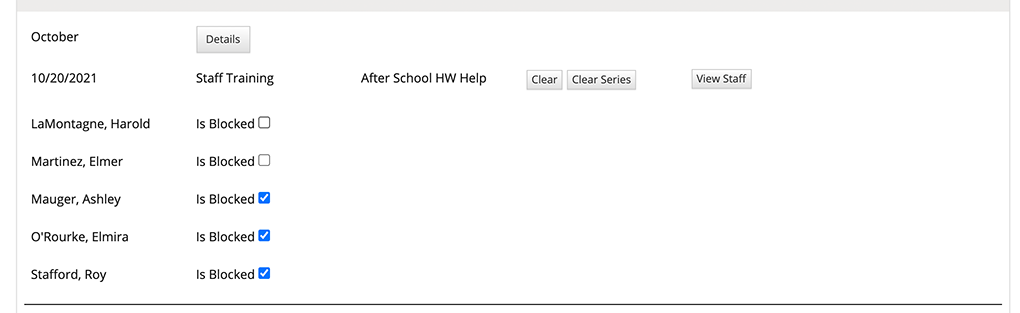
This will open up a list of all of the staff members that are in this department, that are currently blocked. If you need to remove the block for one or more of these staff members, simply uncheck the 'Is Blocked' checkbox next to their names. You can do this for each individual blocked period. Any staff member you 'uncheck' will have the block removed for them on that day & period. To return to the view of the 'Details' for the block, select the Details button again.
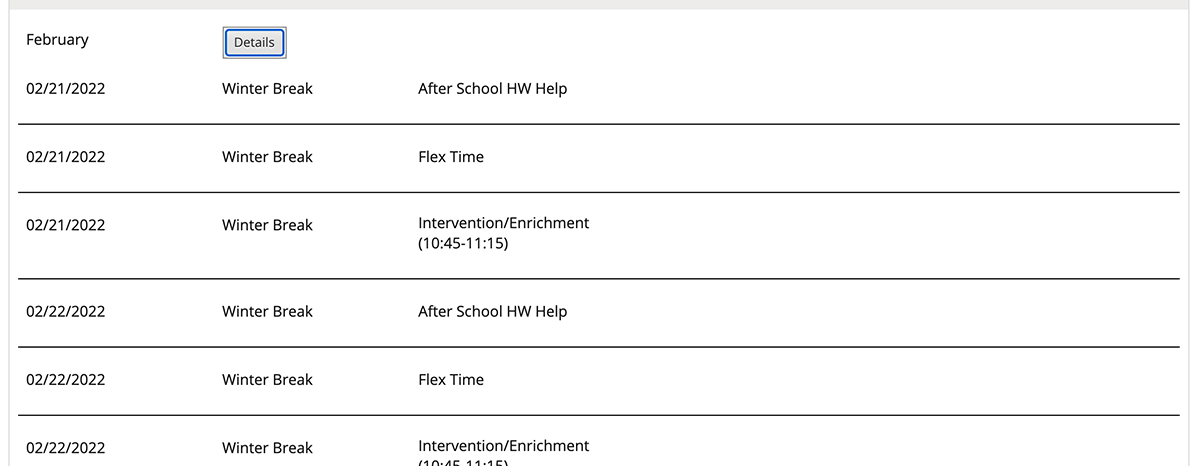
Lastly, there may be blocked dates for the entire school. An example of this would be an In-Service day, or a school vacation. An admin would set these up. As a teacher, you don't have permission to block dates for the school, but you can view which dates are blocked. Scroll down to the 'Dates Blocked for School' box. To see when dates are blocked, select the 'Details' button next to a month. This will show you a list of each period and date that are blocked. In the example below, the school has a Winter Break vacation in February. Selecting the Details button next to February will reveal all of the blocked days and periods.
Check out this video to see the features of this page demonstrated:
Keywords: how to block dates, what is a blocked date, how do I prevent people scheduling to me, blocking a department from being scheduled to, block another teacher from being scheduled to, how to make myself unavailable for scheduling
Comments
0 comments
Please sign in to leave a comment.